Waybound Studio

Quick Start

Quick Start

A first journey, from an empty project list to a plan you can actually drive. It takes about ten minutes, costs nothing, and needs neither an account nor an API key.

What you need before you start

Six steps

Your first journey

01

Choose how to begin

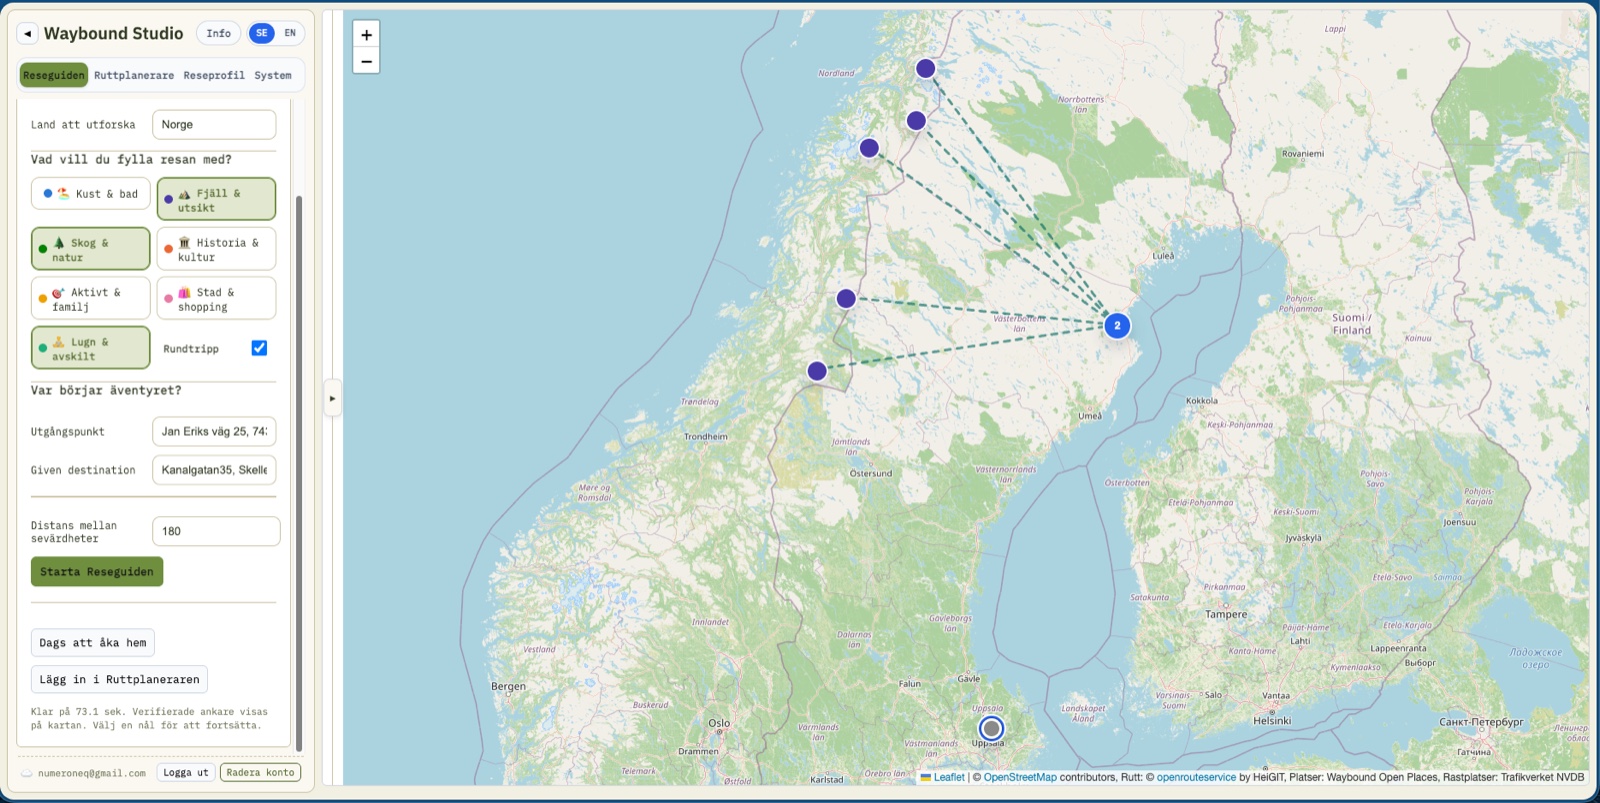
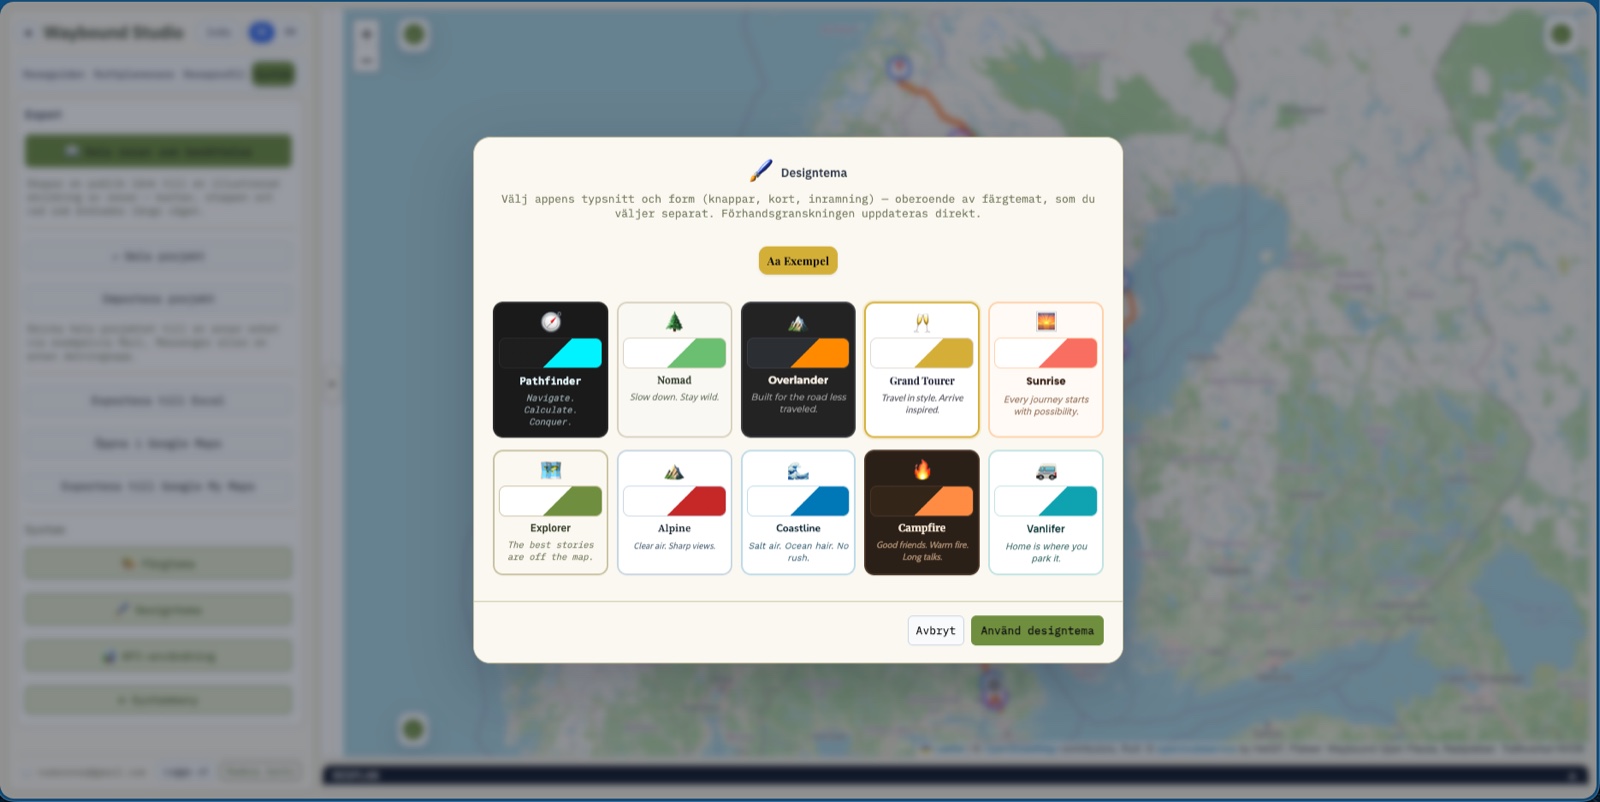
The first time you open the app a welcome dialog offers three ways in: build the trip yourself, let Travel Guide suggest one, or read more first. If you just want to get going, “Do it yourself” is the direct path – Travel Guide needs a Google key, this guide does not.

The welcome dialog with its three ways in
02

Create a project

A trip is a project. The panel at the top left lists the ones you have and saves automatically – locally if you're running without an account, in the cloud if you've signed in. Give it a name you'll still recognise in six months.

The project panel and the planning view
03

Enter the destinations

Type the start, the places you want to pass through, and the end point – one per line. Coming back to where you started? Add the start address again at the bottom. The order is the one you actually intend to drive; the arrows move rows if you change your mind.

04

Set the vehicle and the rules

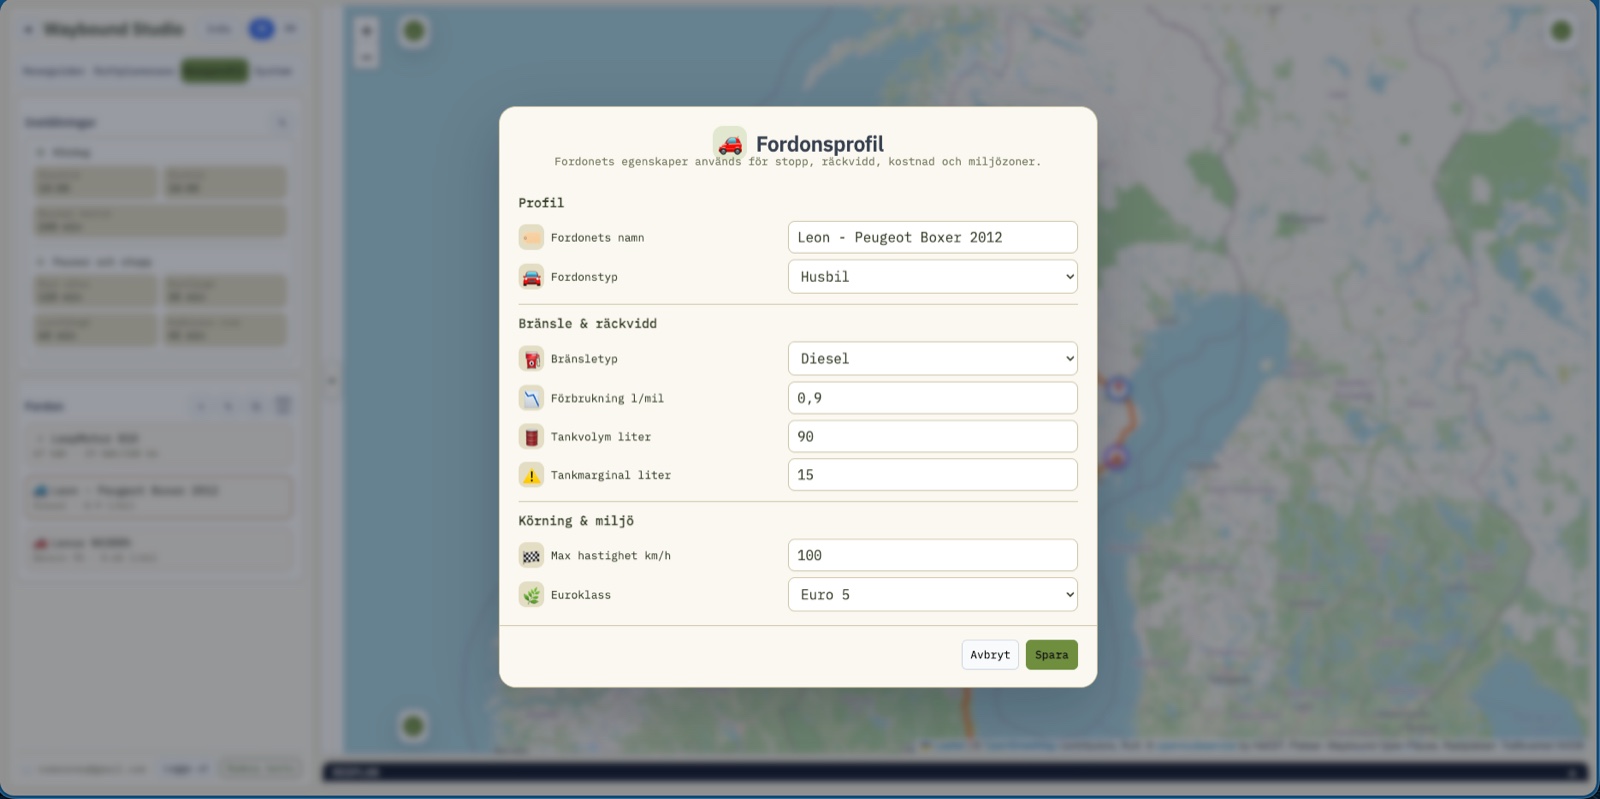
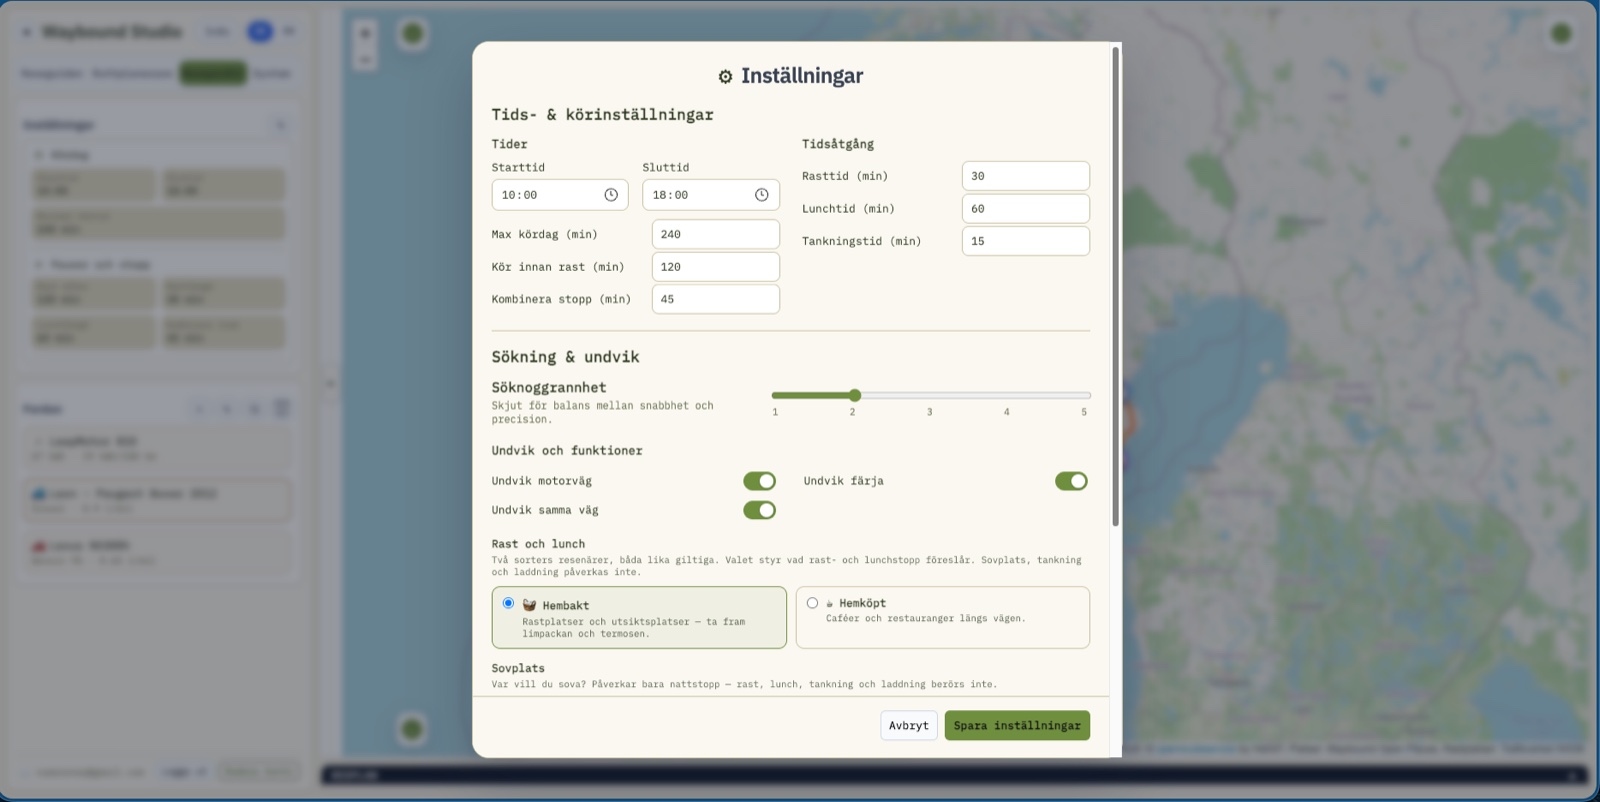
Under the travel profile you choose a vehicle and what a driving day looks like. The vehicle drives range, cost and emission zones; the rules drive when the app suggests a break, lunch, fuel and an overnight stop. This is the difference between a line on a map and a journey you can actually complete.

Travel profile with vehicles and driving-day rules
05

Calculate the route

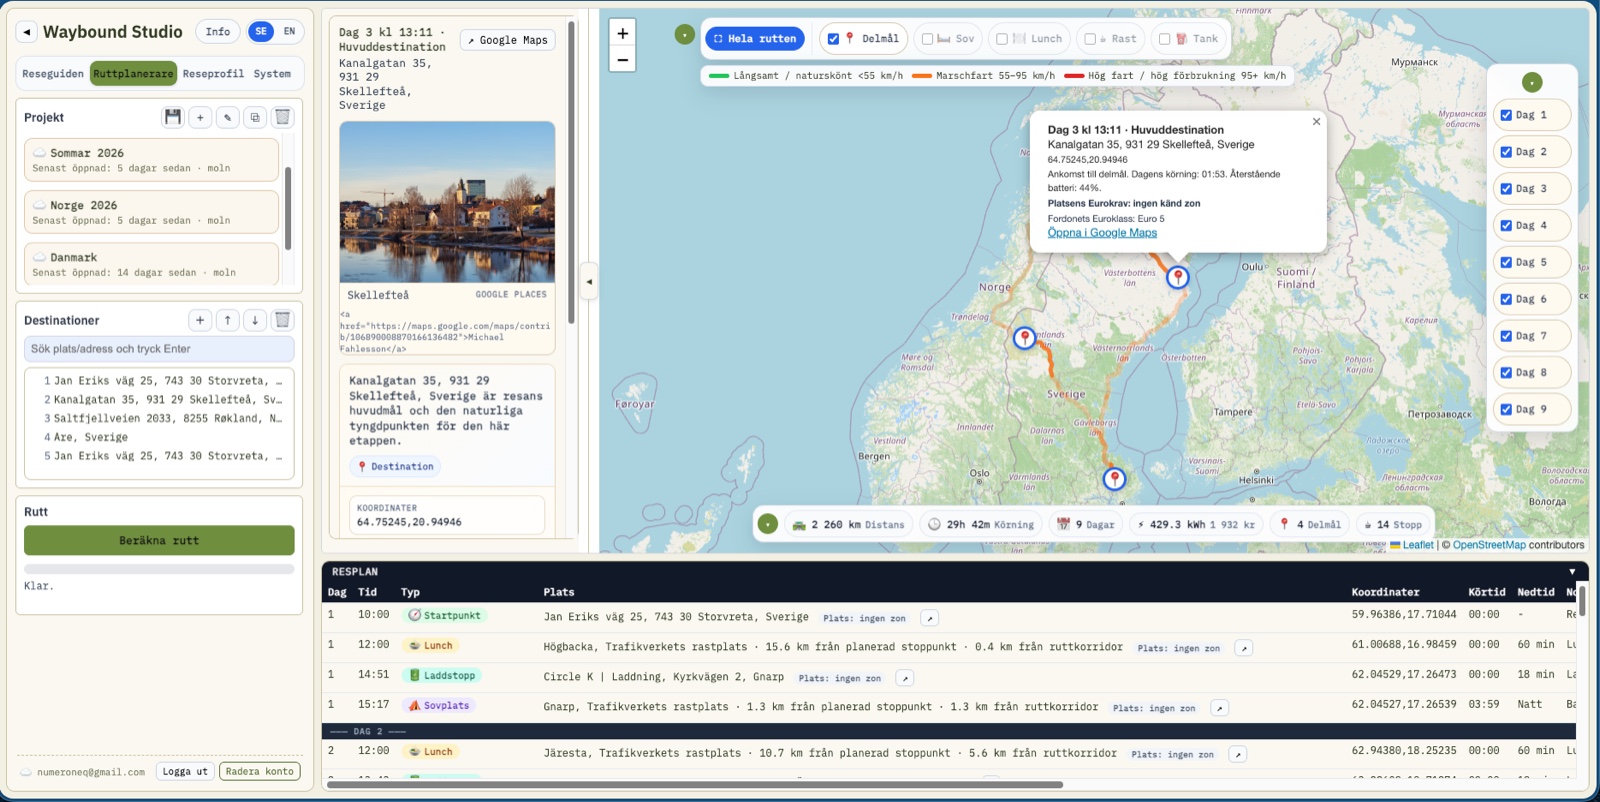
Press Calculate route. The app splits the trip into days and places the stops. When it's done it tells you how long it took, how many rows it created, and – on the free tier – roughly how many calls you have left for the day. If something fails it says why, in plain language.

A calculated route with daily stages
06

Read the result, then export

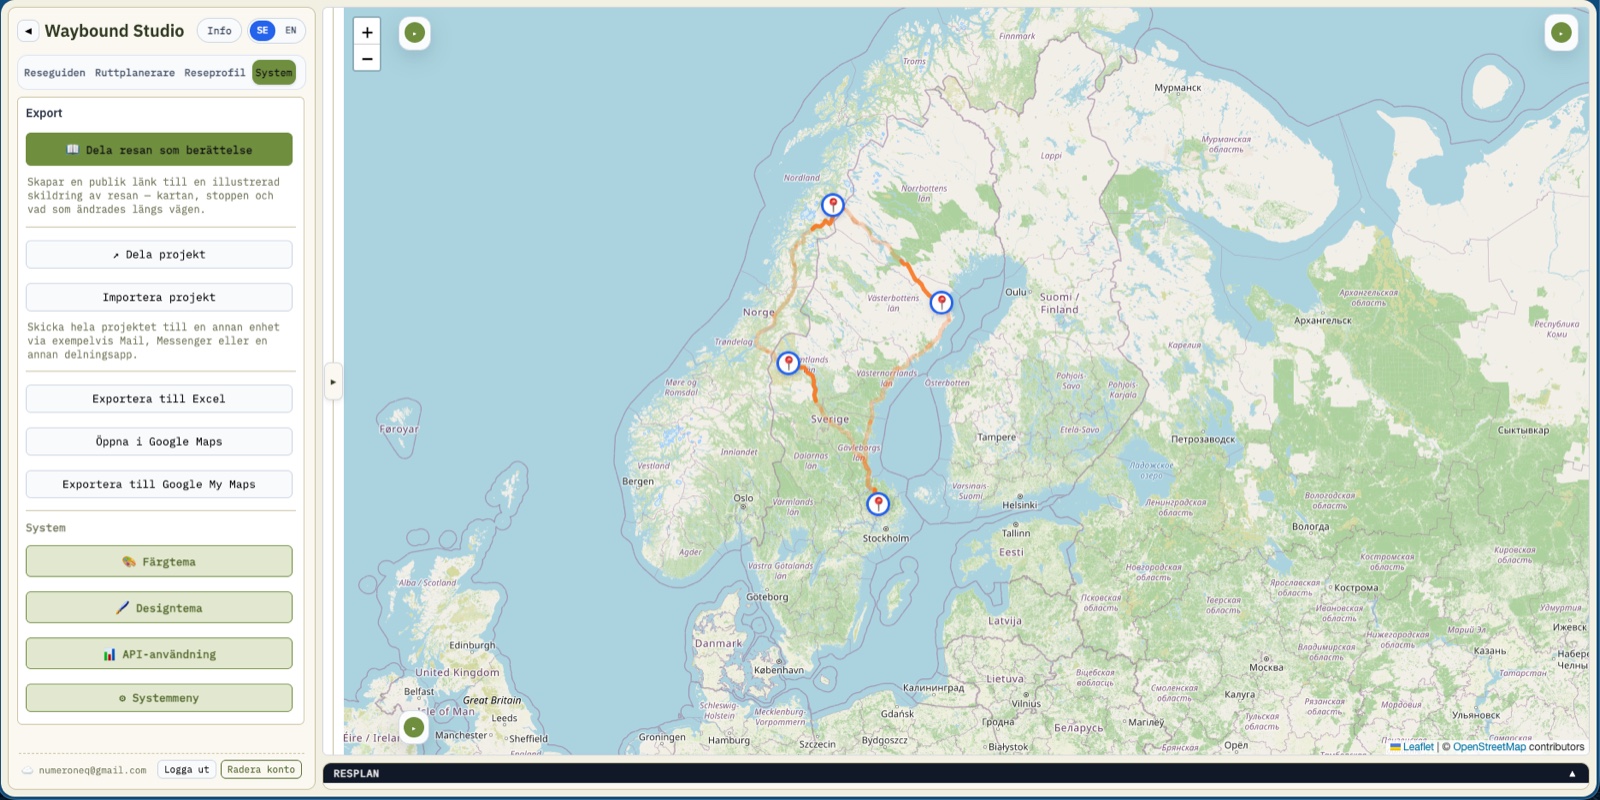
Click a stop to see why it was chosen: driving time to it, facilities on site, emission zone, and a short rationale. Happy with the plan? The Export card in the System tab takes it on to Google Maps, My Maps, Excel, or a project file you can send to someone else.

A stop with facilities, emission zone and rationale

Done when you have

Now it's your turn

You know what's coming. Open the app and walk the six steps with your own trip.

Open Waybound Studio on mobile

Already heading out?

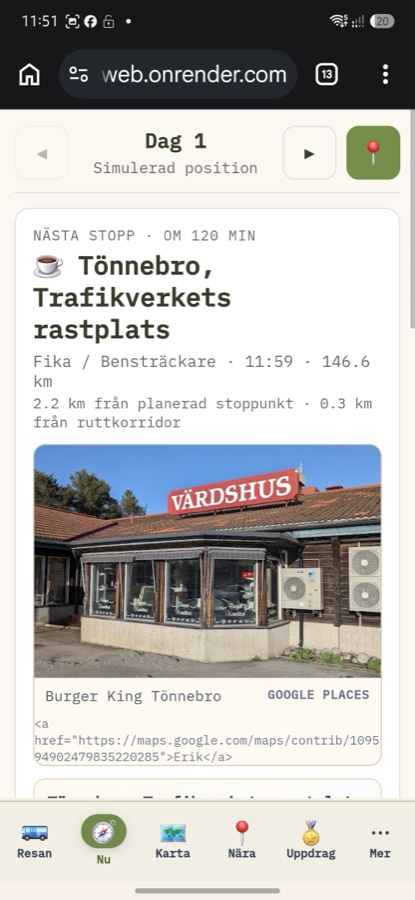
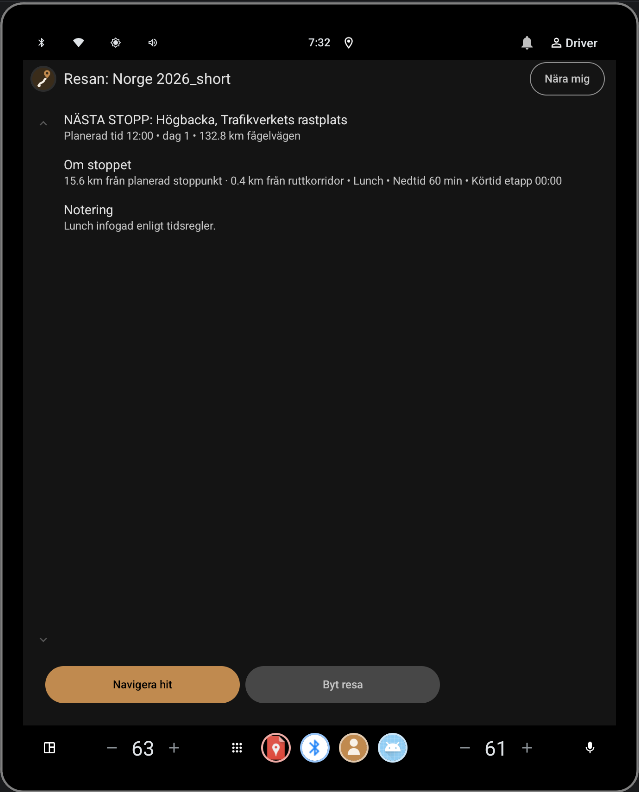
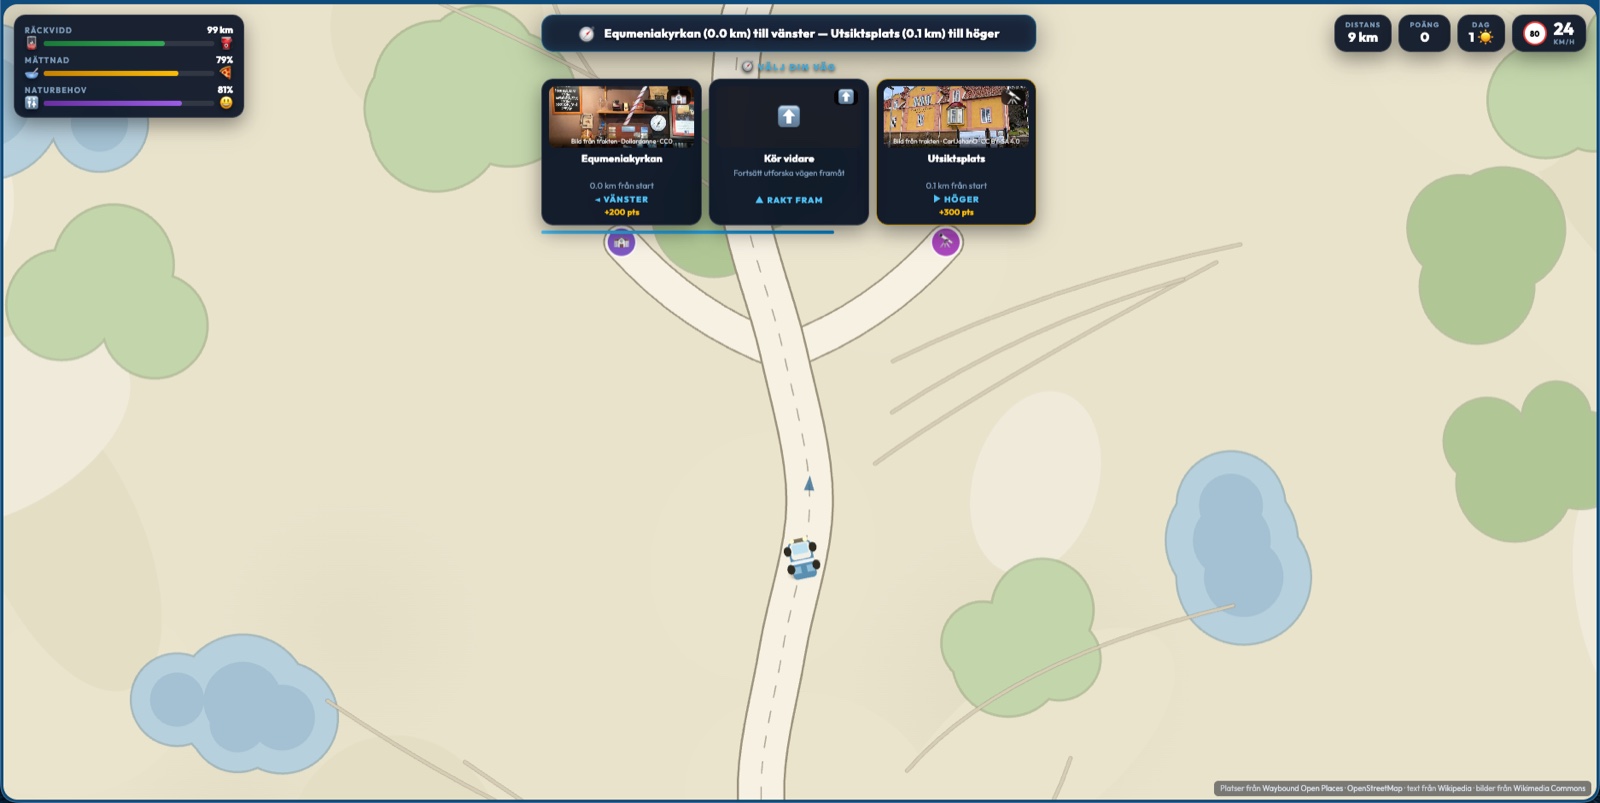
Scan the code to open Waybound Studio on your phone. Once you're moving the app changes shape into On The Road – six simple views with no planning tools in the way.

Open Waybound Studio on mobile

Once the first trip is done

Two directions from here, depending on what you're wondering about.

Features in detail

A reference for what the app can do, feature by feature.

Want Google's data? (optional)

The free tier covers the whole flow above. If you later want Google's map and place data, or want to use Travel Guide, you add your own key. We don't lead anyone here – the guide exists for those who want it.